Proper care of your bird's feet is very important, both for your falconry and for her health. Birds in the wild have gnarled, dirty feet caked with blood, but rarely do they turn up with cases of Bumblefoot. Only in the case of direct injury to the foot does infection set in. Because of this, some may decide to never clean their bird's feet preferring them au naturele. However, clean feet never hurt a bird and they allow you to better watch your bird for any change in her health. Additionally, captive birds are more prone to foot problems, so the time you spend with your bird's feet not only directly helps her health, it helps you to better know how to meet her needs and become familiar with her.
|
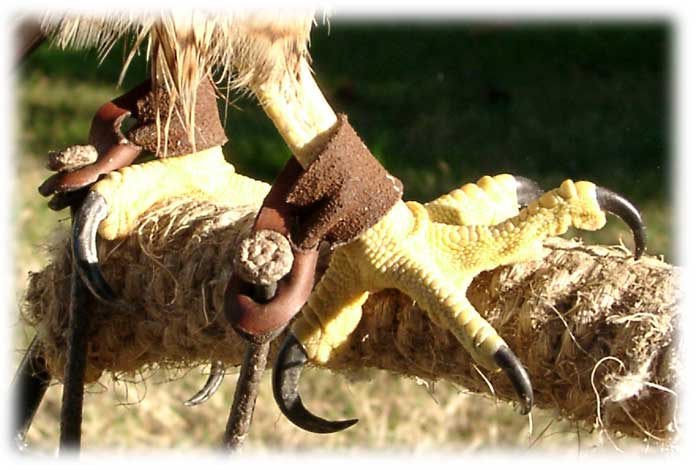
One great tip is to take a picture of your bird the day she is trapped so that you can compare her talon shapes over time. The shape they are in when you trap may not be optimal and you may need to address even a newly trapped bird, but having them as reference points never hurts. |
A freshly trapped Red-Tail's feet |
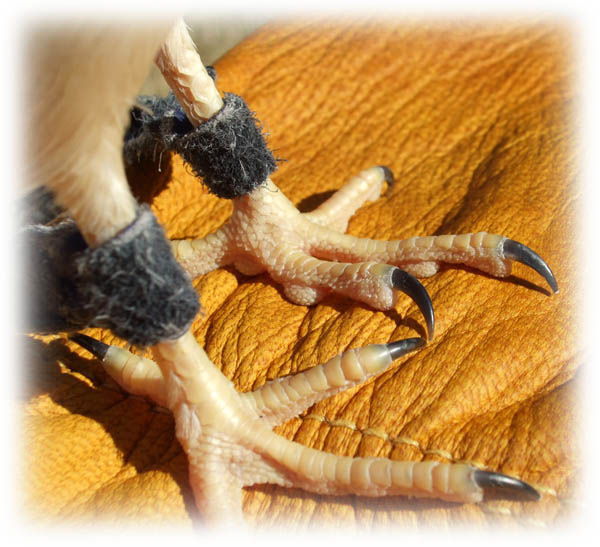
A freshly trapped Cooper's Hawk's feet |
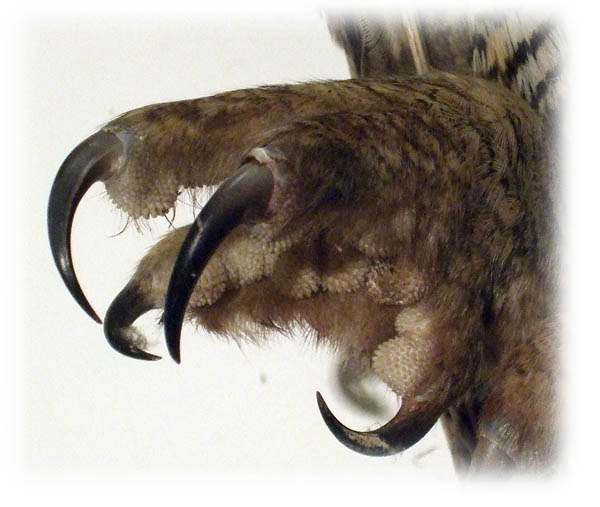
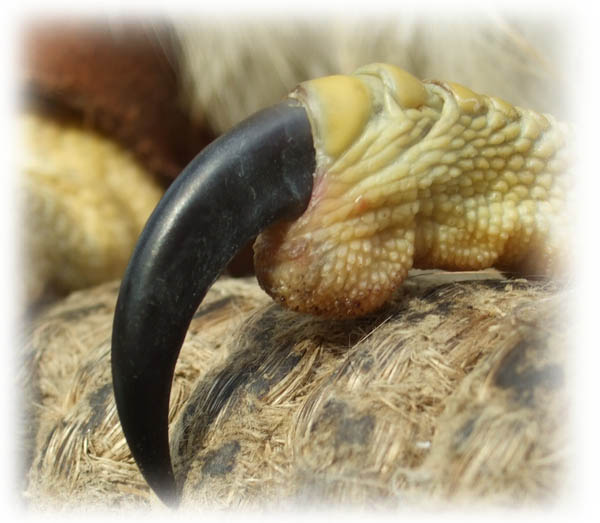
A freshly trapped Great Horned Owl's feet |
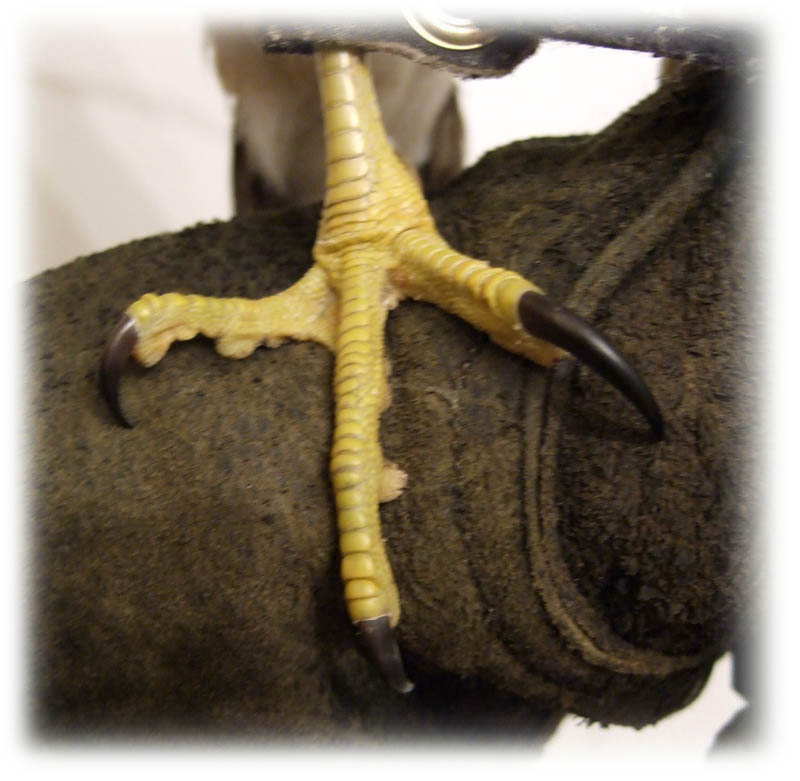
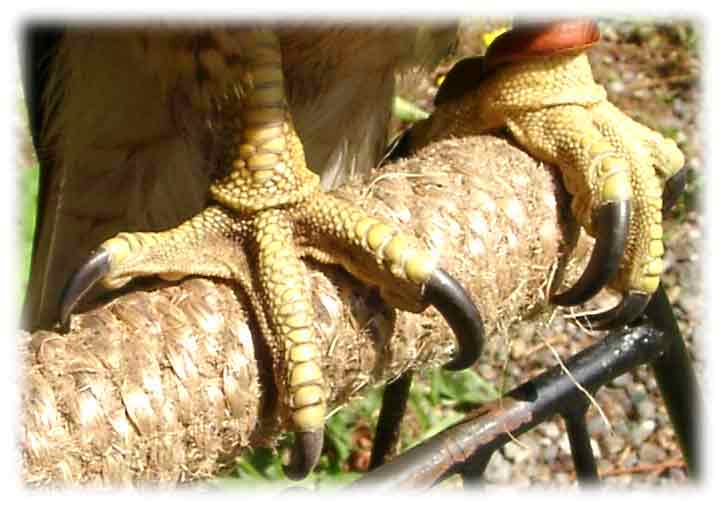
Kestrel foot |
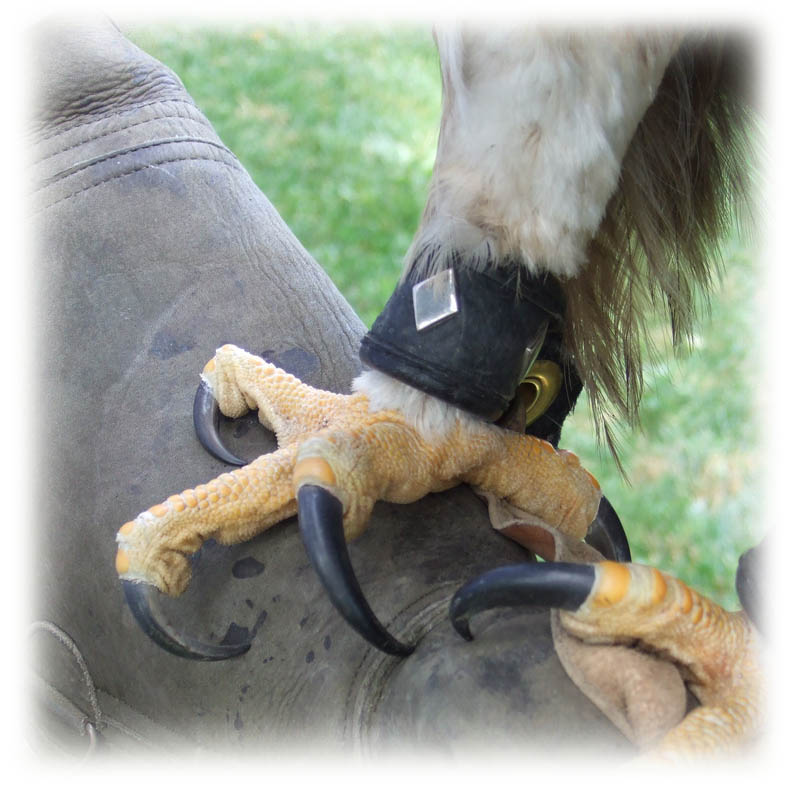
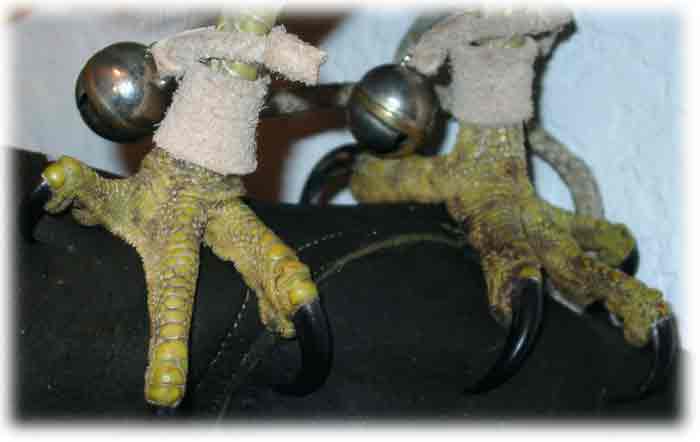
Golden Eagle feet |
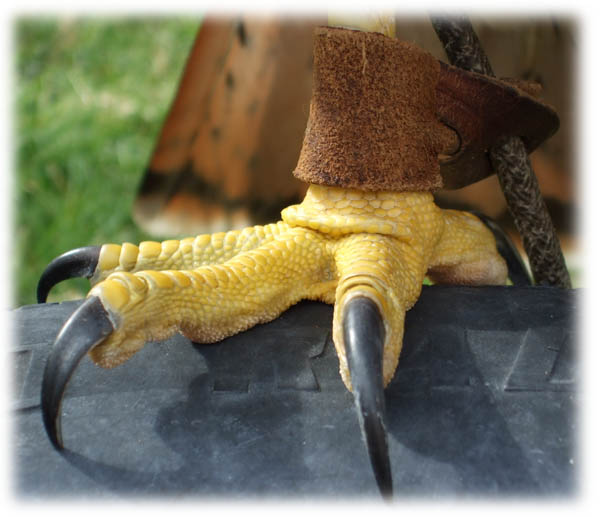
In captivity, the bird's perching surface needs to be complimentary to her. Some birds do fine on a tire perch, others do well on Astroturf, and others do well on soft bark branches. There is no right way to meet a bird's needs except the way that keeps your bird in good health. Many sources state that smooth perching surfaces contribute to Bumblefoot, however that is beginning to be refuted. More falconers are finding that daily high-intensity exercises are what keep their birds from getting Bumblefoot. The theory there is that raising the circulation, especially through the feet, is what keeps the feet healthy. Falconers that freeloft may claim that the freelofting is what keeps their bird's feet healthy believing that it's the varied perching surfaces, but it may be that it's the level of activity that keeps a bird's feet healthy. A falconer who is dedicated enough to daily pick up his bird and work her at least until her feet warm with circulation will likely have a bird with good feet.
Along with daily exercise and just noticing the bird's condition, there are occasional treatments that can be done. Some falconers swear by soaking a towel, wrapping that around the bird's perch, and letting the bird stand on that overnight. And other falconers claim that birds in the wild have sharp talons without ever soaking their feet. And so again, there are many roads leading to Rome. Soaking feet is a great method for cleaning the feet and working on the talons.
 |
This bird's feet are a bit dirty, but not terrible. She could use a soak. |
Foot Soaking or The Talon Spa
One method for soaking talons is to rig up a very short perch. Set this in the bathtub and fill with water until the water is just a few inches over the perch. Set your hooded bird onto this and let her stand there for several hours. Another method uses a short perch and a small plastic container like the Rubbermaid® file holders. This is more portable and may be less mess to clean up.
The method I like is to use a large plastic dog kennel or crate. If your bird takes a hood and will not fuss with it in this setup, then the blankets are unnecessary.
- Take a large plastic dog kennel and cover with one blanket so that the front is left open and all other openings are covered. Epsom salt can be put in the bottom of the crate as a soaking substance.
- Take a second blanket and place above the door.
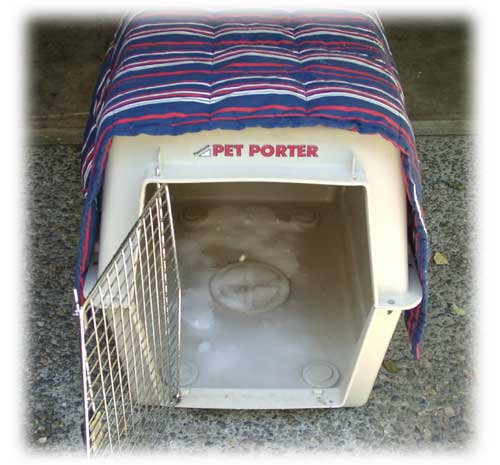
- With the hawk secured to the fist, calmly set her in the dog kennel leaving her on your fist and pull the blanket over the front to block all light.
- Gently roll her off your fist so she is standing in the kennel. The kennel door will be open, but the blanket is keeping her confined and calm.
- Swing the door shut.
- Fold the other half of the blanket down over the door so that the door opening is blocked by that half of the blanket, then the kennel door, then the other half of the blanket.
- Carefully pull the first half of the blanket out from blocking the kennel door from closing.
- You can now securely close the kennel door and have not let her see the light.
- Pour lukewarm water into the kennel or use the hose to slowly fill the bottom of the kennel up a few inches high with water.
- Let the bird stand for a few hours in the water.
To extract the bird, reach around the blanket and unlock the kennel door, slide your gloved hand in and gently get her onto the fist. Swing the door open and carefully remove her. She will likely have her lower half soaking wet. The dirt on her feet will have loosened considerably, and her talons will have started to slough.
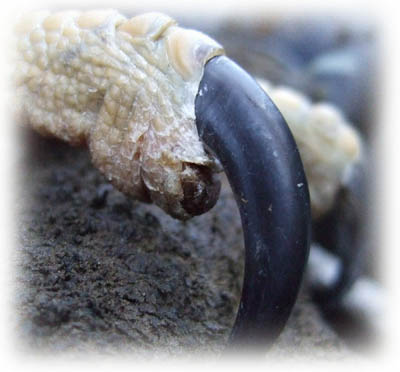
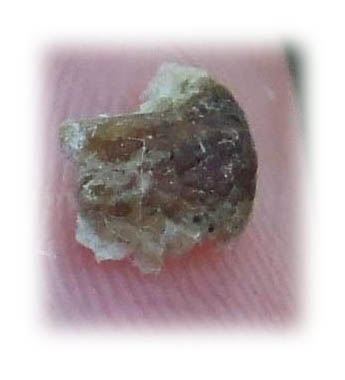
Take a soft toothbrush and an anti-bacterial soap like Dial® and gently start scrubbing the feet clean. The dirt will loosen up and rinse off. You can use your nail or a wide nail file to scrape away at the talons where the talon has turned white and started to slough. Continue gently working at the feet until they are fairly clean. Be sure to rinse them well. Now is also a good time to file the talon if they are in need of shaping or shortening.
Park the bird out in the sunshine to weather and dry. Once she has dried off, and calmed down, you may want to examine the feet for any trouble signs.
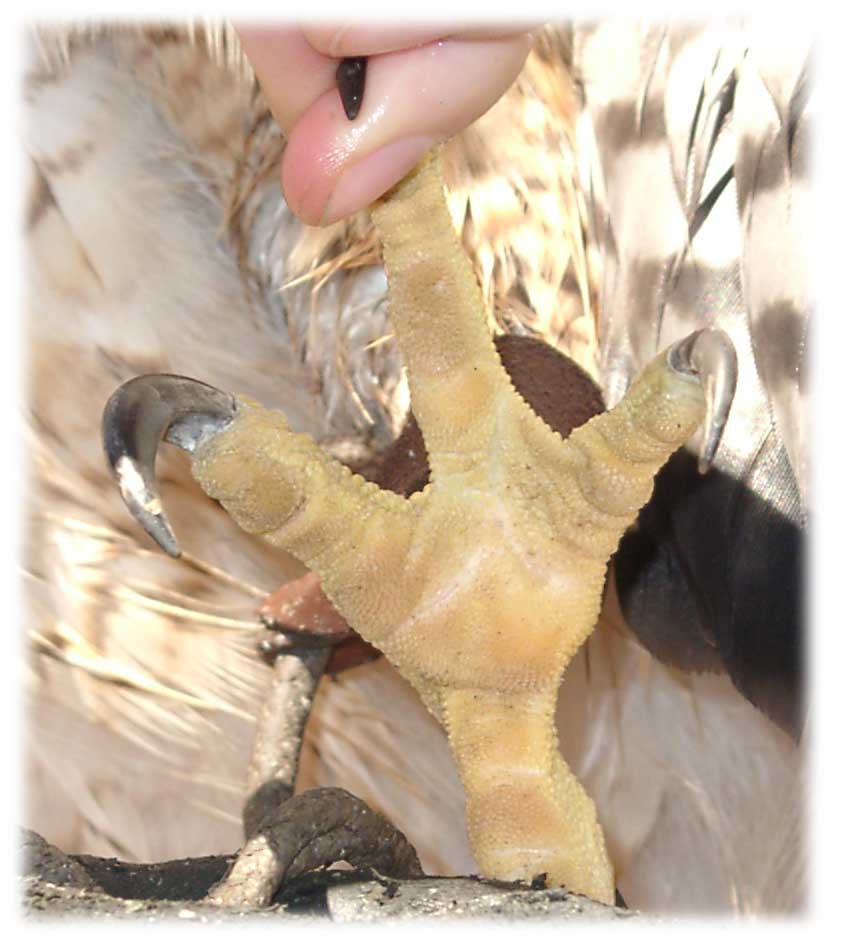
A great way to inspect feet is to get a friend to take pictures of the angles where you cannot easily view. Gently take your finger and lift the bird's middle front toe up. Typically, she will lift up her whole foot open wide. Your friend can now take a good close picture of an angle of the foot that you cannot easily inspect.
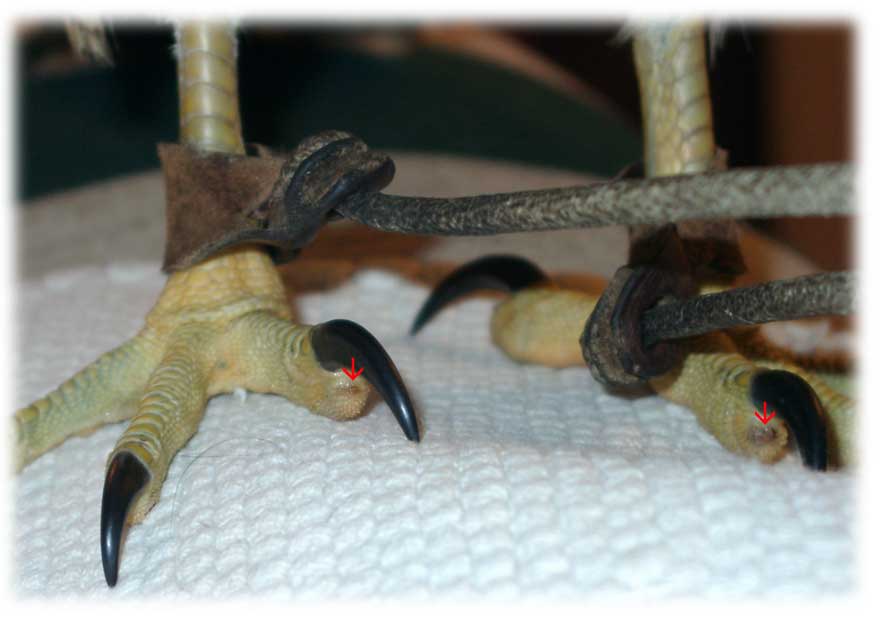
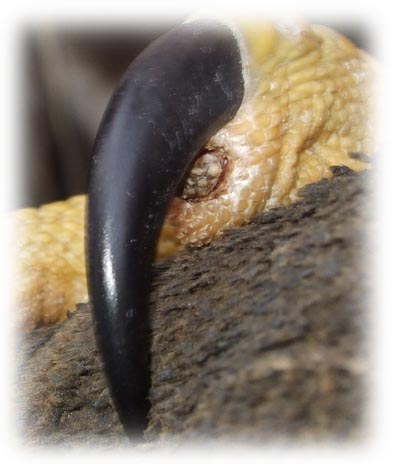
Another place to examine carefully is under the talon where the talon meets the flesh of the toe. Dirt and blood collect here and this is a prime site for infection to start. Carefully clean out this area and use the toothbrush to work some anti-bacterial soap into this site.
 |
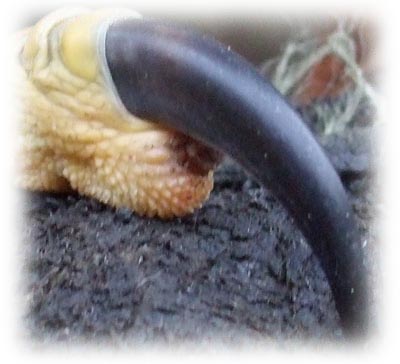
She now has clean feet that can be inspected for any slight sign of an oncoming foot problem. The feet come out of a soak looking paler than when they went in. You can also see the white areas on the talons indicating areas that have started to slough off. |
Some falconers routinely put Corona® ointment or an anhydrous lanolin onto their bird's feet. Care should be taken here as any trace of ointment that is not completely rubbed in to the bird's feet will collect on her vent feathers and make them sticky and dirty. If you do see any slight dot as the start of Bumblefoot, take a small amount of Preparation-H® and rub that into the site well. Continue the Preparation-H® treatment until the flesh looks normal. Many times the site of these dots will be where the flesh of the foot does not actually touch the perch. The development of these signs can help you tune your perches to your bird.
 |
It is very useful to occasionally have a spouse take a few pictures of the bottom of your bird's feet. Gently holding the toes up off your glove and extending the foot slightly is something many birds will tolerate. This gives you a good photograph that you can study for any sign of foot trouble anywhere on your bird's feet. This bird's feet look great. |
 |
Note the condition of the talons, properly sharp, properly curved, and well kept. The feet are healthy and strong. |
 |
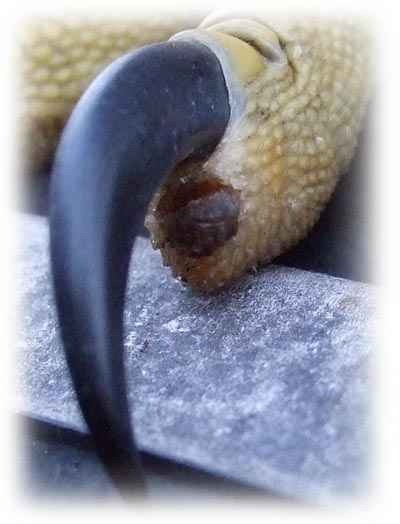
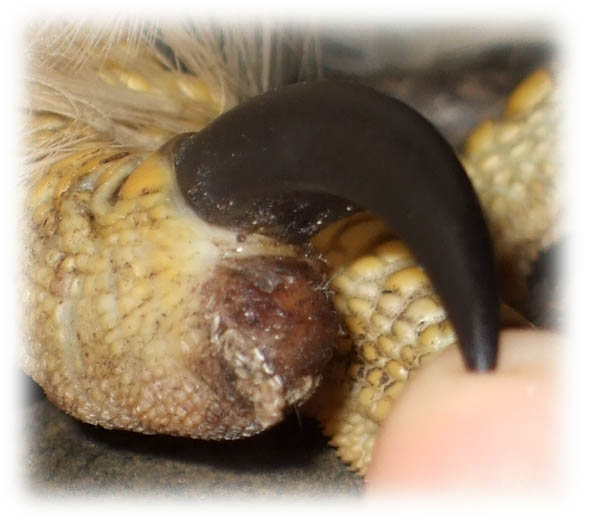
Here a small dot has begun to form at the front of the two primary toes. This is not due to improper perching surfaces, indeed this part of the foot does not touch the perch. This could be due to meat collecting under the talon and bringing on the beginnings of a foot problem, however this bird never has had meat collect like that. Daily heavy exercise, scrubbing and soaking the feet, and twice daily application of Preparation-H® will put this right. |
 |
This bird develops this same toe spot at the tip of her main front toe every year, usually in late winter or early spring. |
 |
A different year for this bird. Keeping the feet dry, massaging them, and exercising the bird appears to help, although it could be linked to the lack of strong sunlight or the wet environment. |
 |
The spot after having Preparation-H massaged in to it, although this makes it difficult to keep as clean. |
 |
As the weather turns more dry and sunny, or as the toe is treated, this spot tends to dry and separate slightly. |
 |
The toe spot drying out, in a different year. |
 |
Eventually a minor discoloration will reverse, or the more significant spot will dry and fall off like a scab. |
 |
The toe after the spot has scabbed and fallen off. Notice it can barely be discerned that anything had been there, yet it will occur to this bird every year. |
 |
Here is that same bird several years later when her maintenance needs in this particular environment were better figured out. This is about a week before she was released back to the wild. Compare with her feet at the very top of the page, eight years prior, when she was just trapped. |
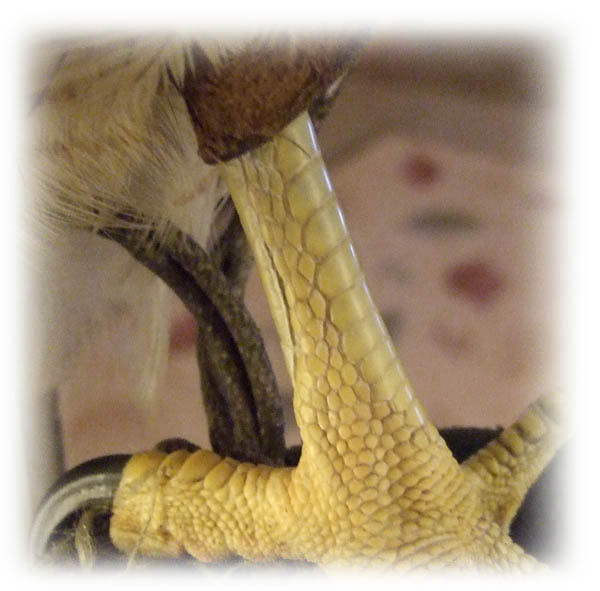
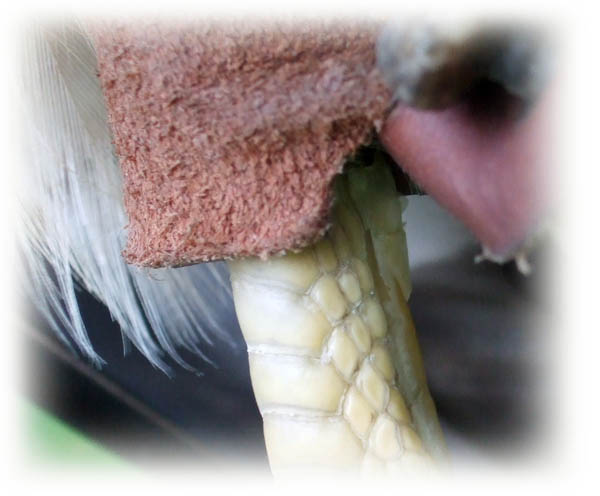
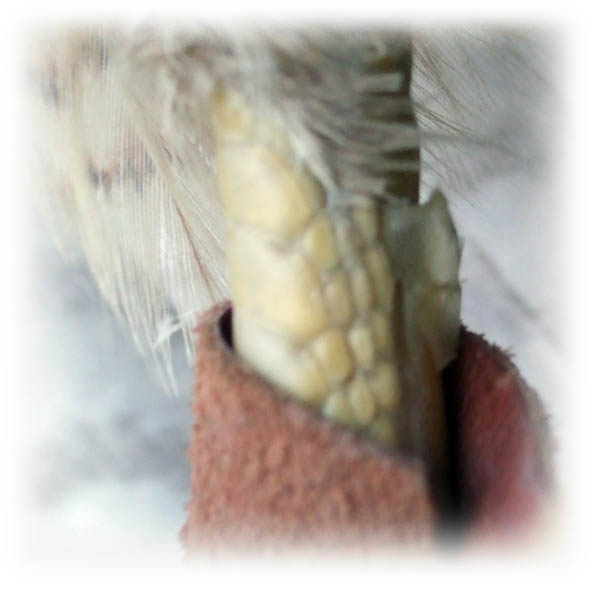
Another related topic is the health of the leg, or the tarsus. Some birds do not properly shed the long scales along the back of their leg. If these are not shed properly, they can dry, contract, and eventually end up pinching the bird's tendons along the back of the leg. Checking the back of each leg, rubbing or even slightly picking at an edge can reveal a line of scales that should be watched or encouraged to shed. Never force them unless necessary.
 |
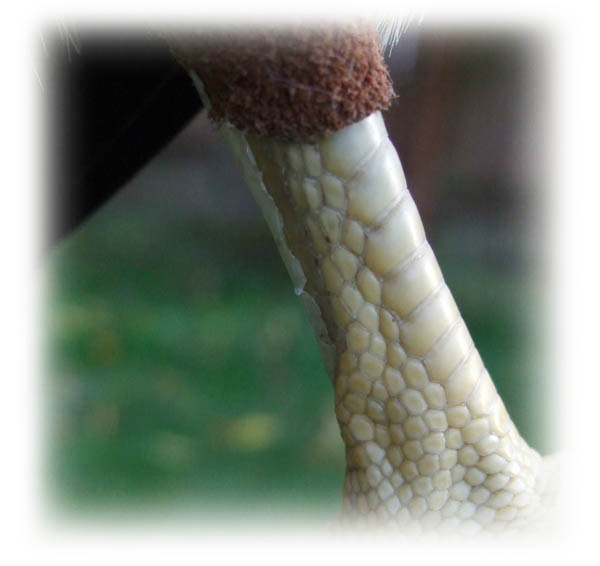
This scale edge shows that it is starting to shed illustrating what to watch and be aware of. |
 |
Another example of how the leg scales may appear when they are ready to shed. |
 |
Another example of how the leg scales may appear when they are ready to shed. |
 |
Another example of how the leg scales may appear when they are ready to shed. |
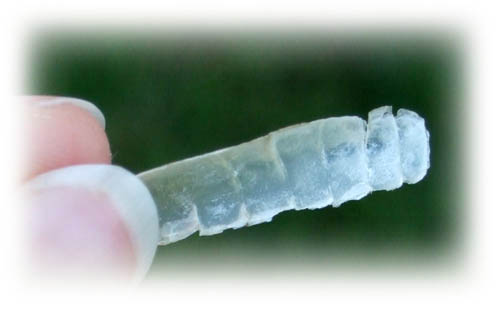 |
The long line of scales, when shed, may shed as a whole piece. You may need to encourage or help it along or it may happen naturally. |