To practice, any length of rope can be used. For actually leashing a bird, stiff leashes are safer than flexible ones.
The steps are given in very slow motion to help you get a feel for tying the knot. As you get the motions, you will make slight alterations and tie it your own way. The knot can be tied overhand or underhand. Neither one is better than the other - it depends on how the right hand side of the leash lays as to which one you are more likely to tie.
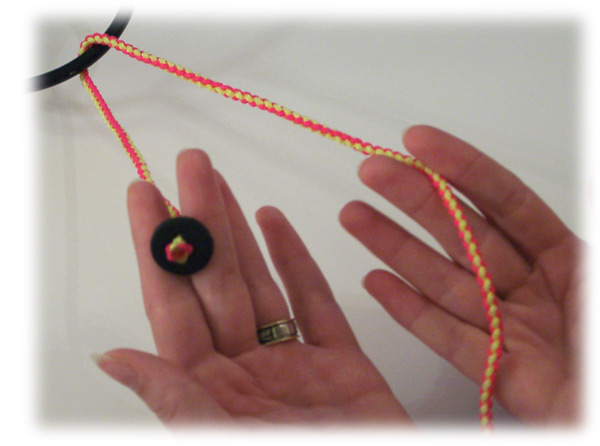
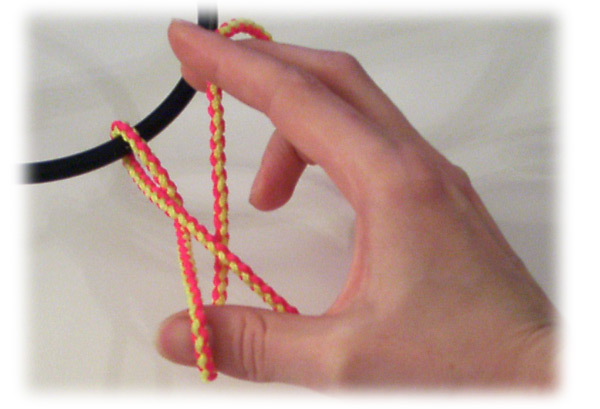
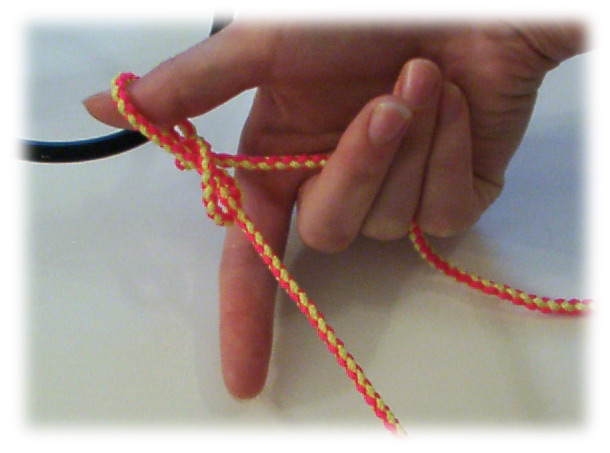
- First, run the length of leash through the anchoring point so that the bird's end is under the anchor point and the right hand side of the leash is coming over the anchor point. For this, I have run it through a ring on a bow perch. On the left hand side is the button - this will be the bird's side of the leash. The right hand side is the end that you will be tying with. Take the right hand side and hold it between your index and second finger.
- Push your right hand down.
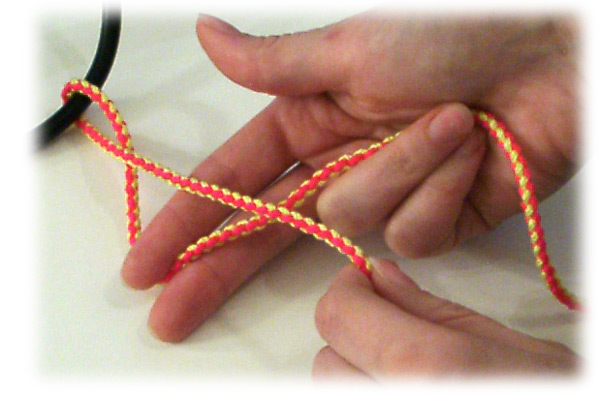
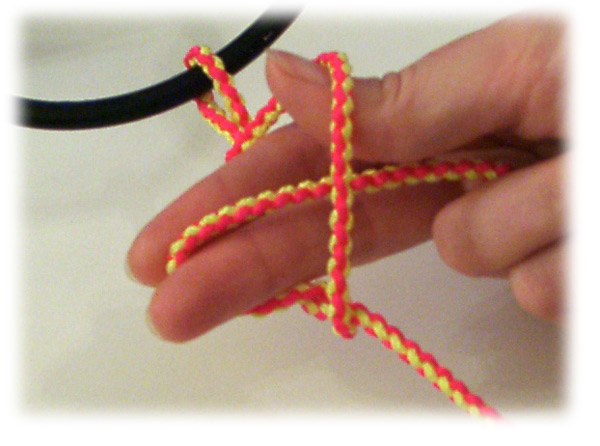
- Lay your right hand over the left end of the leash. Reach under the left end and catch the right side of the leash with your thumb. This will create a loop.
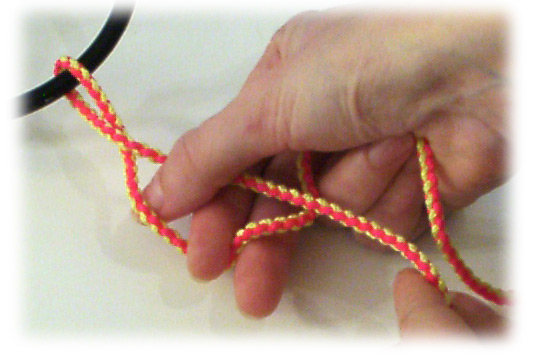
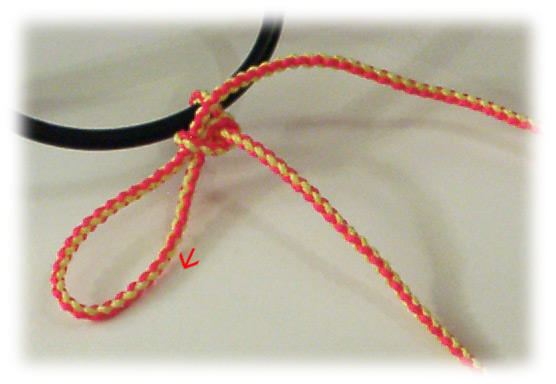
- Separate your thumb from your right hand fingers. You will have a loop that passes under the left side of the leash.
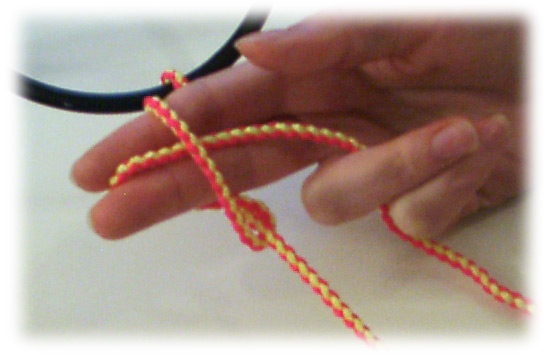
- Lift your thumb so that the loop rises above the left side of the leash. Push your index and second finger through the thumb loop.
- Release your thumb from the thumb loop. It will fall across the middle of your fingers.
- You will now trade your thumb into the loop that the two fingers had been in. Pull your fingers out of their loop and put your thumb into it to hold its shape.
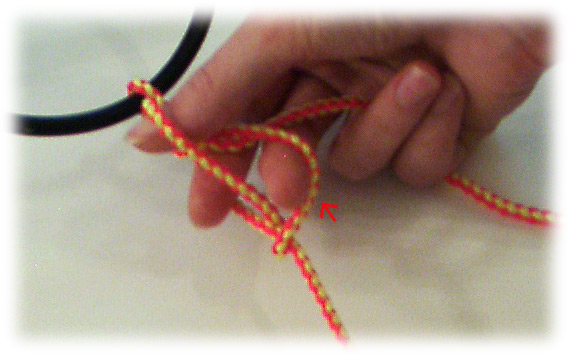
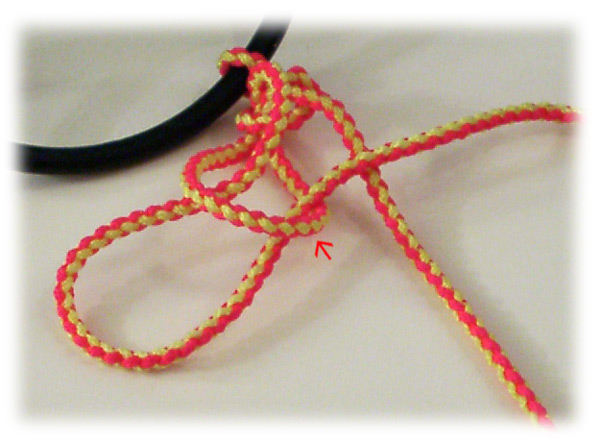
The arrow points to the original thumb loop. The thumb is now in the finger loop.
- Release all fingers from the knot and pull the thumb up to keep the loop taut.
- Keep the bird's end of the leash taut and pull the loop of the leash to tighten the knot around the anchor point. The knot will tighten and slide closer to the anchor point.
Pull this side of the loop in the direction of the arrow.
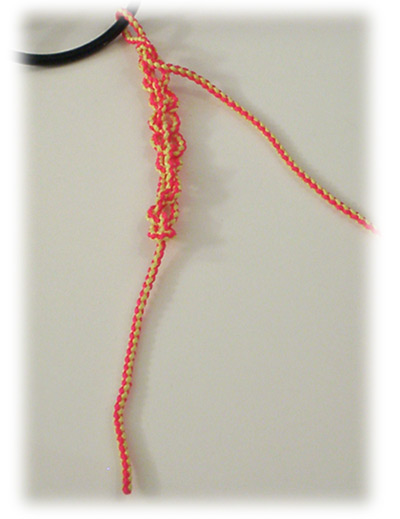
The knot is tied, but it is not secure. You can take the entire leftover bight of leash and pass it into the loop to lock it down.
However, this is not the safest way to leave a bird. Birds can manage to work a knot undone, and knots sometimes pull loose.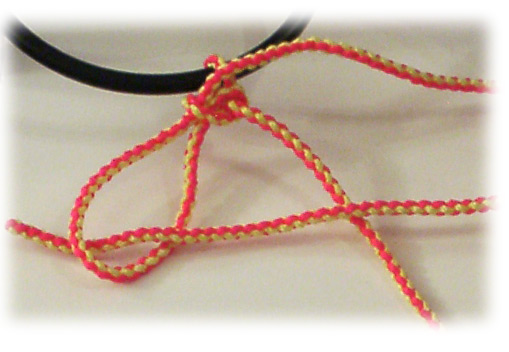
From here, pull the loop closed and pull the entire rest of the bite through the knot.
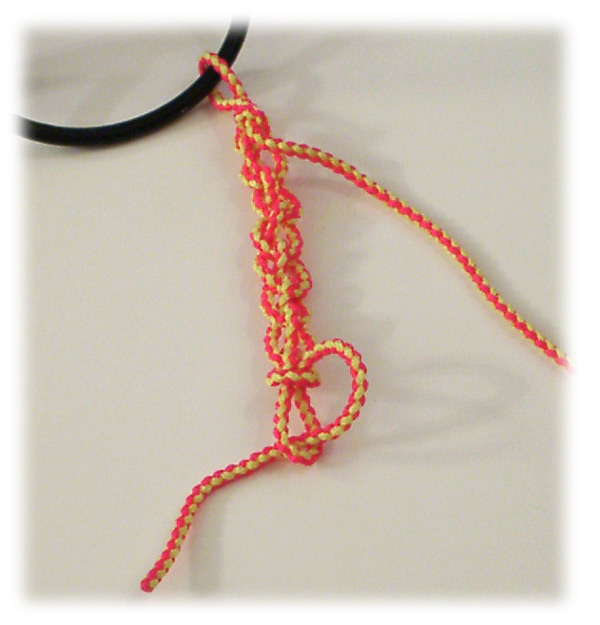
- Take the loop that was left in step 9 and push another loop through it.
The red arrow is pointing to the original loop from step 9.
- Continue pushing loops through loops making a chain of loops. Tuck the bite of the leash back through the last loop.
- Pull the bite tight to lock the chain in place.